
This guide will help you create and verify your Payoneer account step by step.
Step 1: Gathering Your Documents
Before you start, make sure you have these items ready. If your registration data doesn’t exactly match your official documents, Payoneer’s compliance system will automatically reject your application.
Government-Issued ID: National ID card, Passport, or Driver’s License (Must be valid/not expired).
Local Bank Account Details: Your local bank name, branch name, account number, and SWIFT/BIC code.
Physical Address Proof: A utility bill or bank statement from the last 3 months (in case immediate verification is requested).
Active Mobile Number: Required for 2-step verification and SMS code authentication.
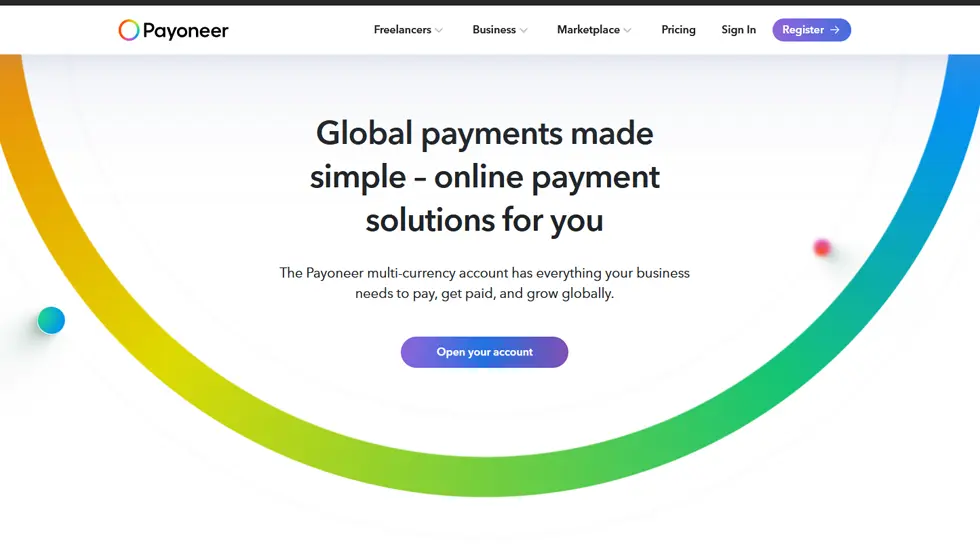
Step 2: Visit Payoneer Website
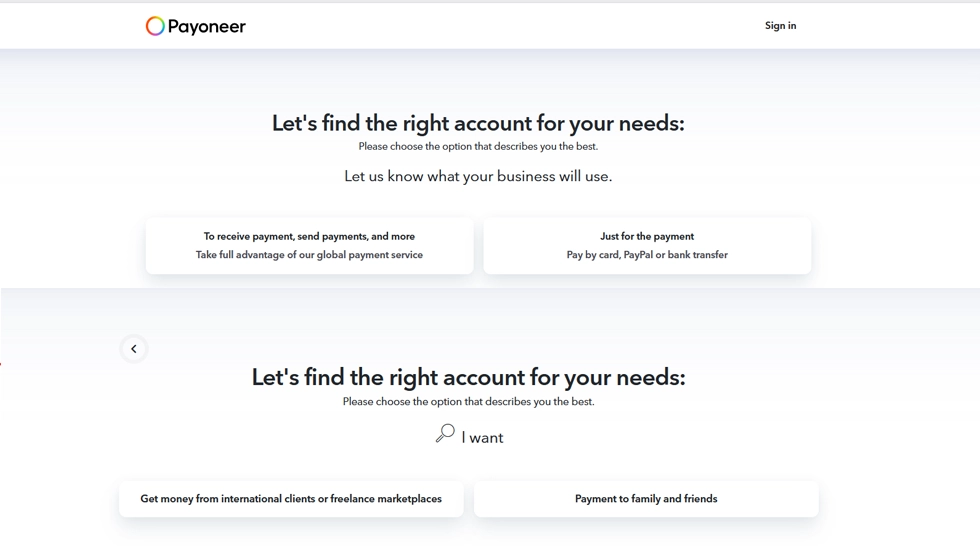
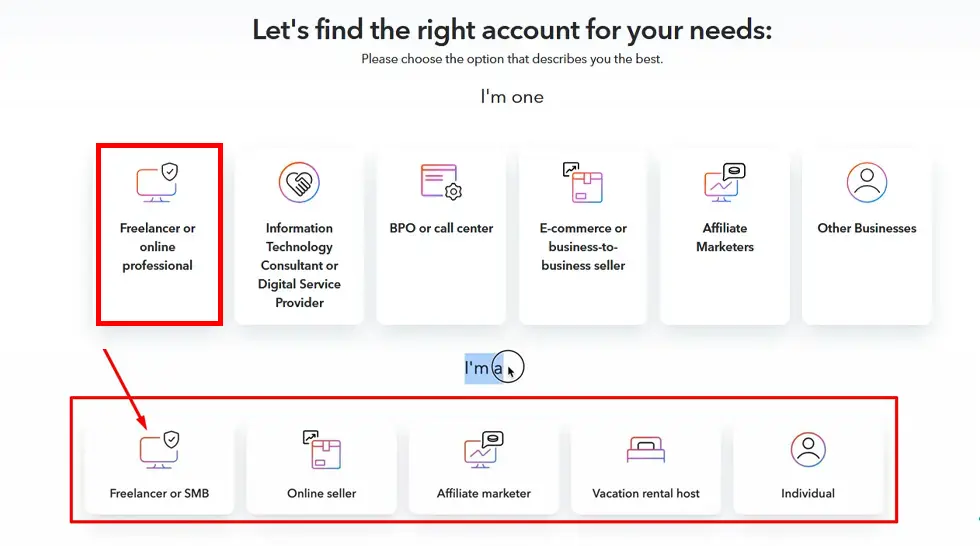
Step 3: Select Your Business Type
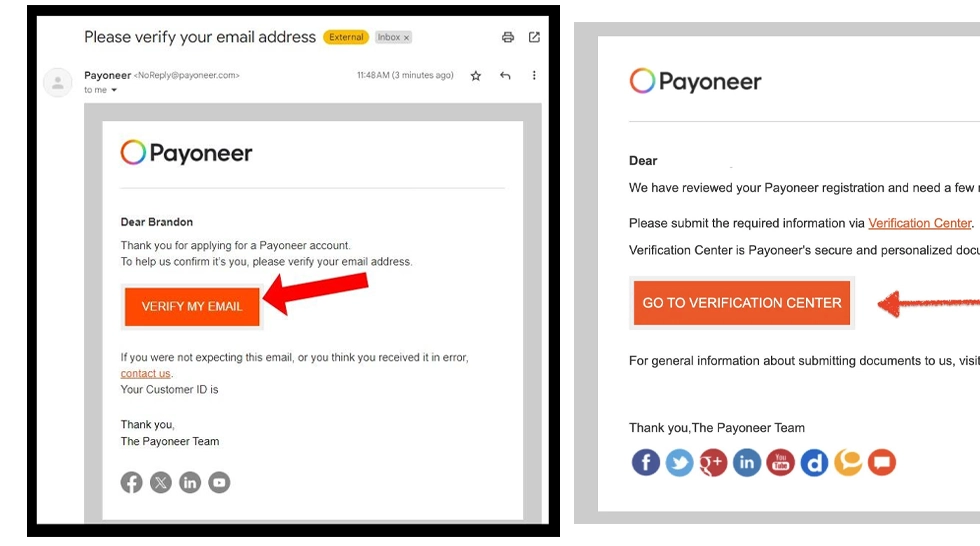
Step 4: Verify Email
Step 5: Enter Personal Details
Fill in your:
- First Name
- Last Name
- Email Address
- Date of Birth
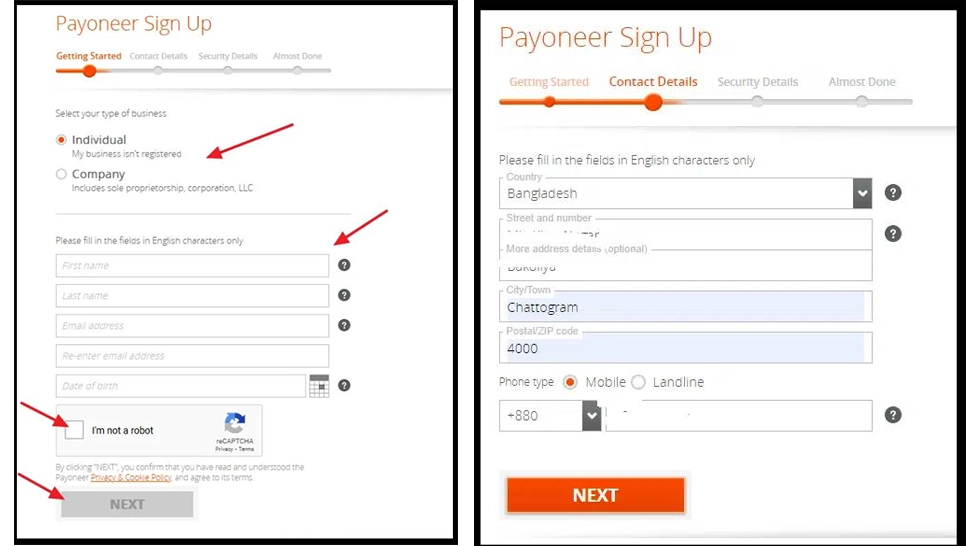
Step 6: Add Contact Details
Enter your:
- Country
- Address
- City
- Phone Number
Step 7: Create Security Details
Step 8: Add Bank Account
Add your bank details:
- Bank Name
- Account Holder Name
- Account Number
- SWIFT Code
Step 9: Submit Application
Approval takes a few business days.

Verification Process
Payoneer may request the following documents:
- National ID / Passport
- Utility Bill / Bank Statement
Conclusion
Payoneer is a powerful payment solution for freelancers in 2026.
Once verified, you can receive global payments easily and securely.
Common Mistakes
❌ Providing fake information
❌ Using someone else’s ID
❌ Creating multiple accounts
❌ Providing wrong bank information
Doing these things can lead to account limitations.